Hi @cV V, since your trying to access data store inside a docx file you will need to first convert the file to plain text.
You can use the !ParseWordDoc entryID= command first on the file in your screenshot. The output of this command will add a new file to context in .txt format.
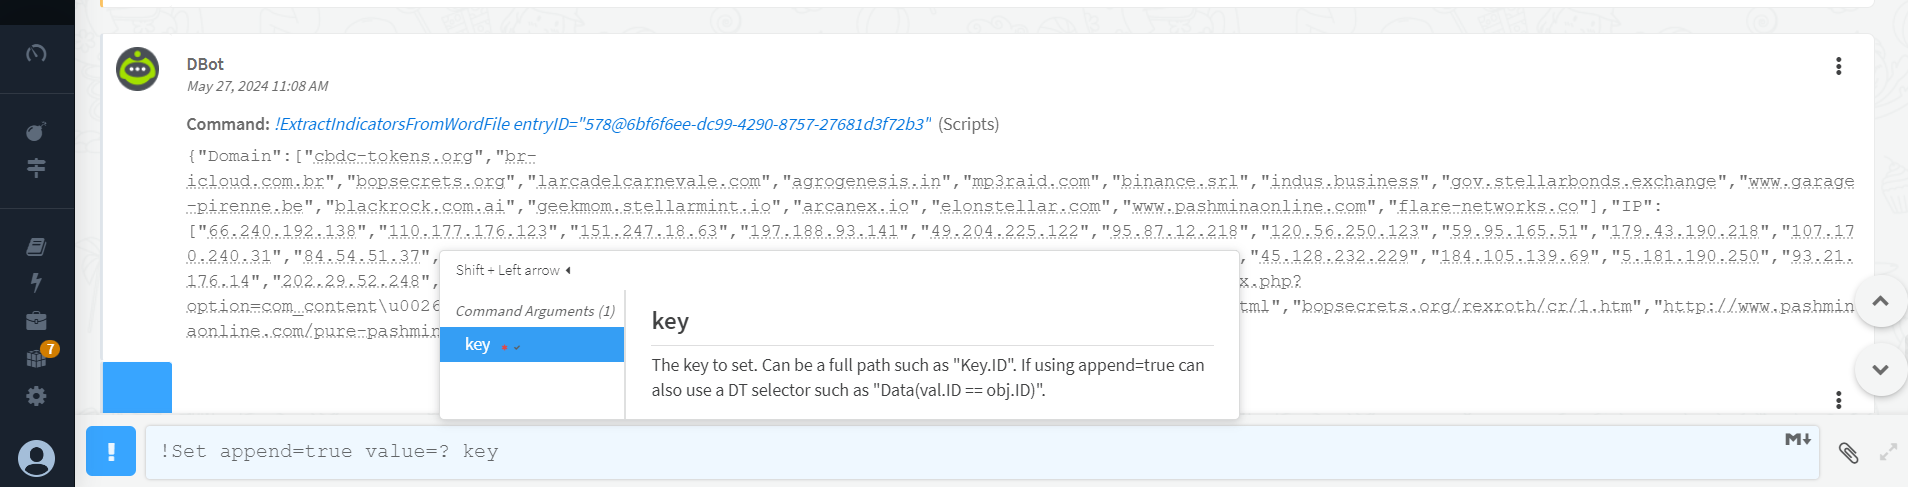
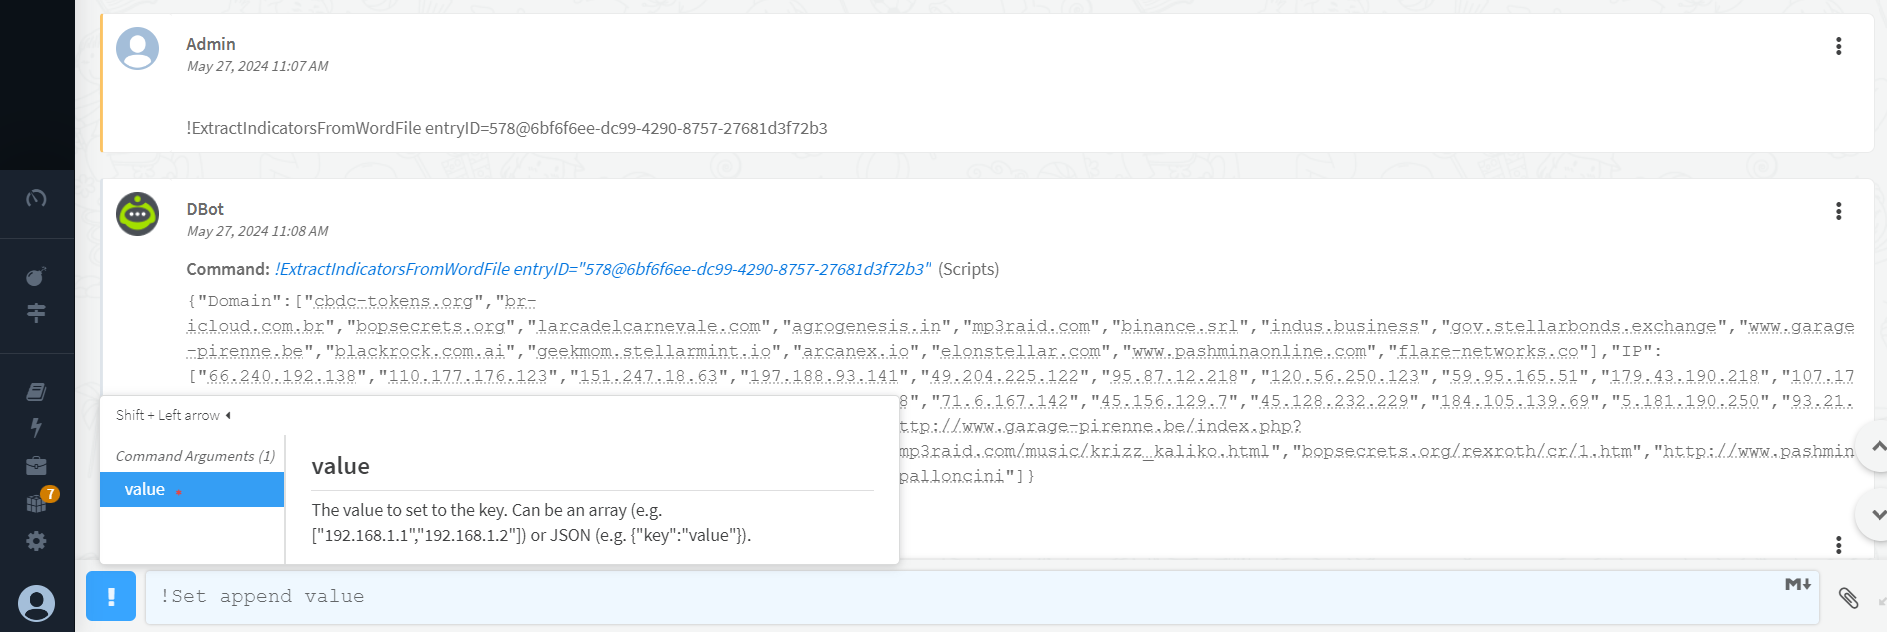
You can then run the !extractIndicators entryID= command with this new file. The output of this command will create the ExtractedIndicators key in your context.
Please note that the ExtractedIndicators key will contain sub-keys for IP, URL, etc. Also, when you run this command multiple times, with 2 different files for example, the ExtractedIndicators with be converted into a list. To create a single list you can use the below command.
!Set append=true value=${ExtractedIndicators.IP} key=ListofIPS


